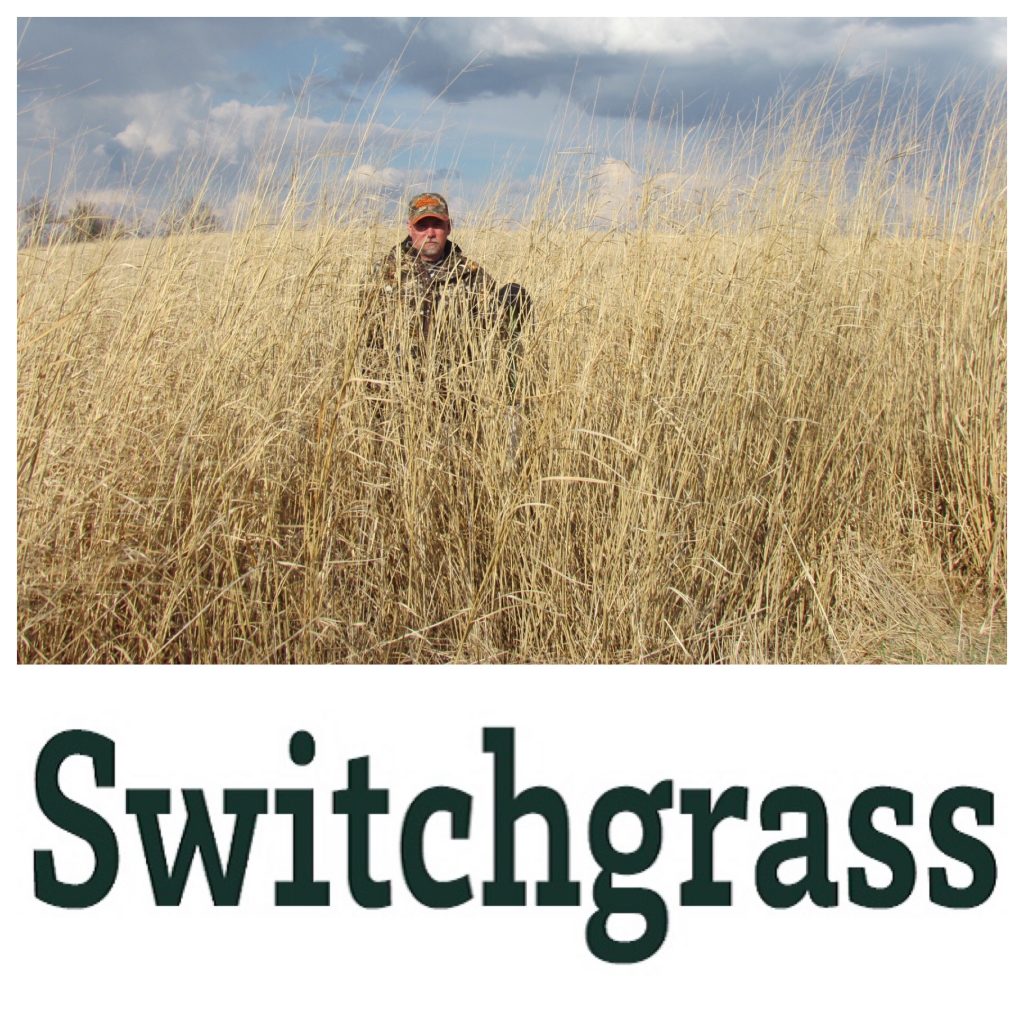
Switchgrass Planting Instructions
Please read these instructions completely before starting your switchgrass planting project! It could save you a lot of time, money and disappointment.
Ground Preparation – Your planting site should be free of any growing or established plants. Frost-seeding or no-till drilling can be done with no ground prep on sites free of other live vegetation, particularly cool season grasses which will out-compete switchgrass and hinder its establishment. The only way to get rid of established grasses is with herbicide. If you think you are going to get away with just burning or mowing a site where grasses are growing, your project is doomed to fail.
Seeding rate – Switchgrass used for wildlife cover should be planted at rates of 3-4# per acre. More is not better! Higher seeding rates can result in crowding where the grasses are stunted and will not grow as tall. Real World recommends that you plant our switchgrass at a rate of 4# per acre. It is often difficult to spread 4# of seed over an entire acre so to make this process easier you can mix the seed with pelletized lime to get more material to spread.
Planting methods – The best way to plant switchgrass is by frost-seeding in the late winter or early spring. This simply involves broadcasting the seed onto ground (even frozen ground or snow-covered ground) that has either been prepared the previous fall or is bare or in a crop residue such as soybean stubble or cornstalks. When frost-seeding it is important that the site be totally free of established grasses.
If frost-seeding is not possible, switchgrass can also be planted into freshly prepared soil by broadcasting and then either culti-packing or lightly dragging. The seed should be no more than ½” deep.
Switchgrass seed can also be planted with any conventional or no-till drill that is suitable for clover or alfalfa seed.
Stratification – Stratification is a process of freezing and thawing to loosen the hard seed-coat that some seeds must go through before they will germinate. Switchgrass is one of those seeds. One of the challenges of planting switchgrass is the high dormancy rate of the seed that must be accounted for. Switchgrass seeds are very hard and to break the dormancy requires a good dose of cold, wet weather to help soften them up a bit. This stratification process is best left up to Mother Nature to perform. Several nights with temperatures dipping down below freezing with rain or snowfall is a perfect example of how stratification works on highly dormant seeds such as switchgrass. Frost-seeding generally results in good stratification which results in good germination. Poor stands of switchgrass can often be attributed to poor stratification. Some seeds planted one spring will remain dormant and not germinate until the next spring after they have gone through a proper stratification.
Herbicide – Atrazine is a pre-emergent herbicide that you can spray onto plots to be planted in switchgrass. Atrazine will prevent a lot of weeds from ever germinating. Switchgrass is tolerant to atrazine and thus the seed will not be affected.
Once your switchgrass plot has vegetation (both weeds and switchgrass) growth of 12-18” it can be sprayed with 2,4-D herbicide. 2,4-D will kill broadleaf weeds only without harming any grasses.
Note – Always follow labeled rates and instructions when using any herbicide.
Be Patient! All warm-season native grasses can be slow to germinate and establish. It is very common to not be able to see any growth at all for the first 45 days or so after planting and it often takes 3 years to get a good stand although it can happen in less time under ideal conditions. If your switchgrass plot looks poor the first year do not give up but be patient.
Maintenance – The very best thing you can do for any warm-season native-grass planting is burn it in the spring. There is no good substitute for burning. If you won’t or can’t burn your switchgrass plot it will never be as good as it could be. Ideally you should burn your switchgrass every other year starting the second spring after planting.
Keep These Instructions!!!! And refer back to them when you have questions.